Ustrasana (Camel pose) - suggestions for practice
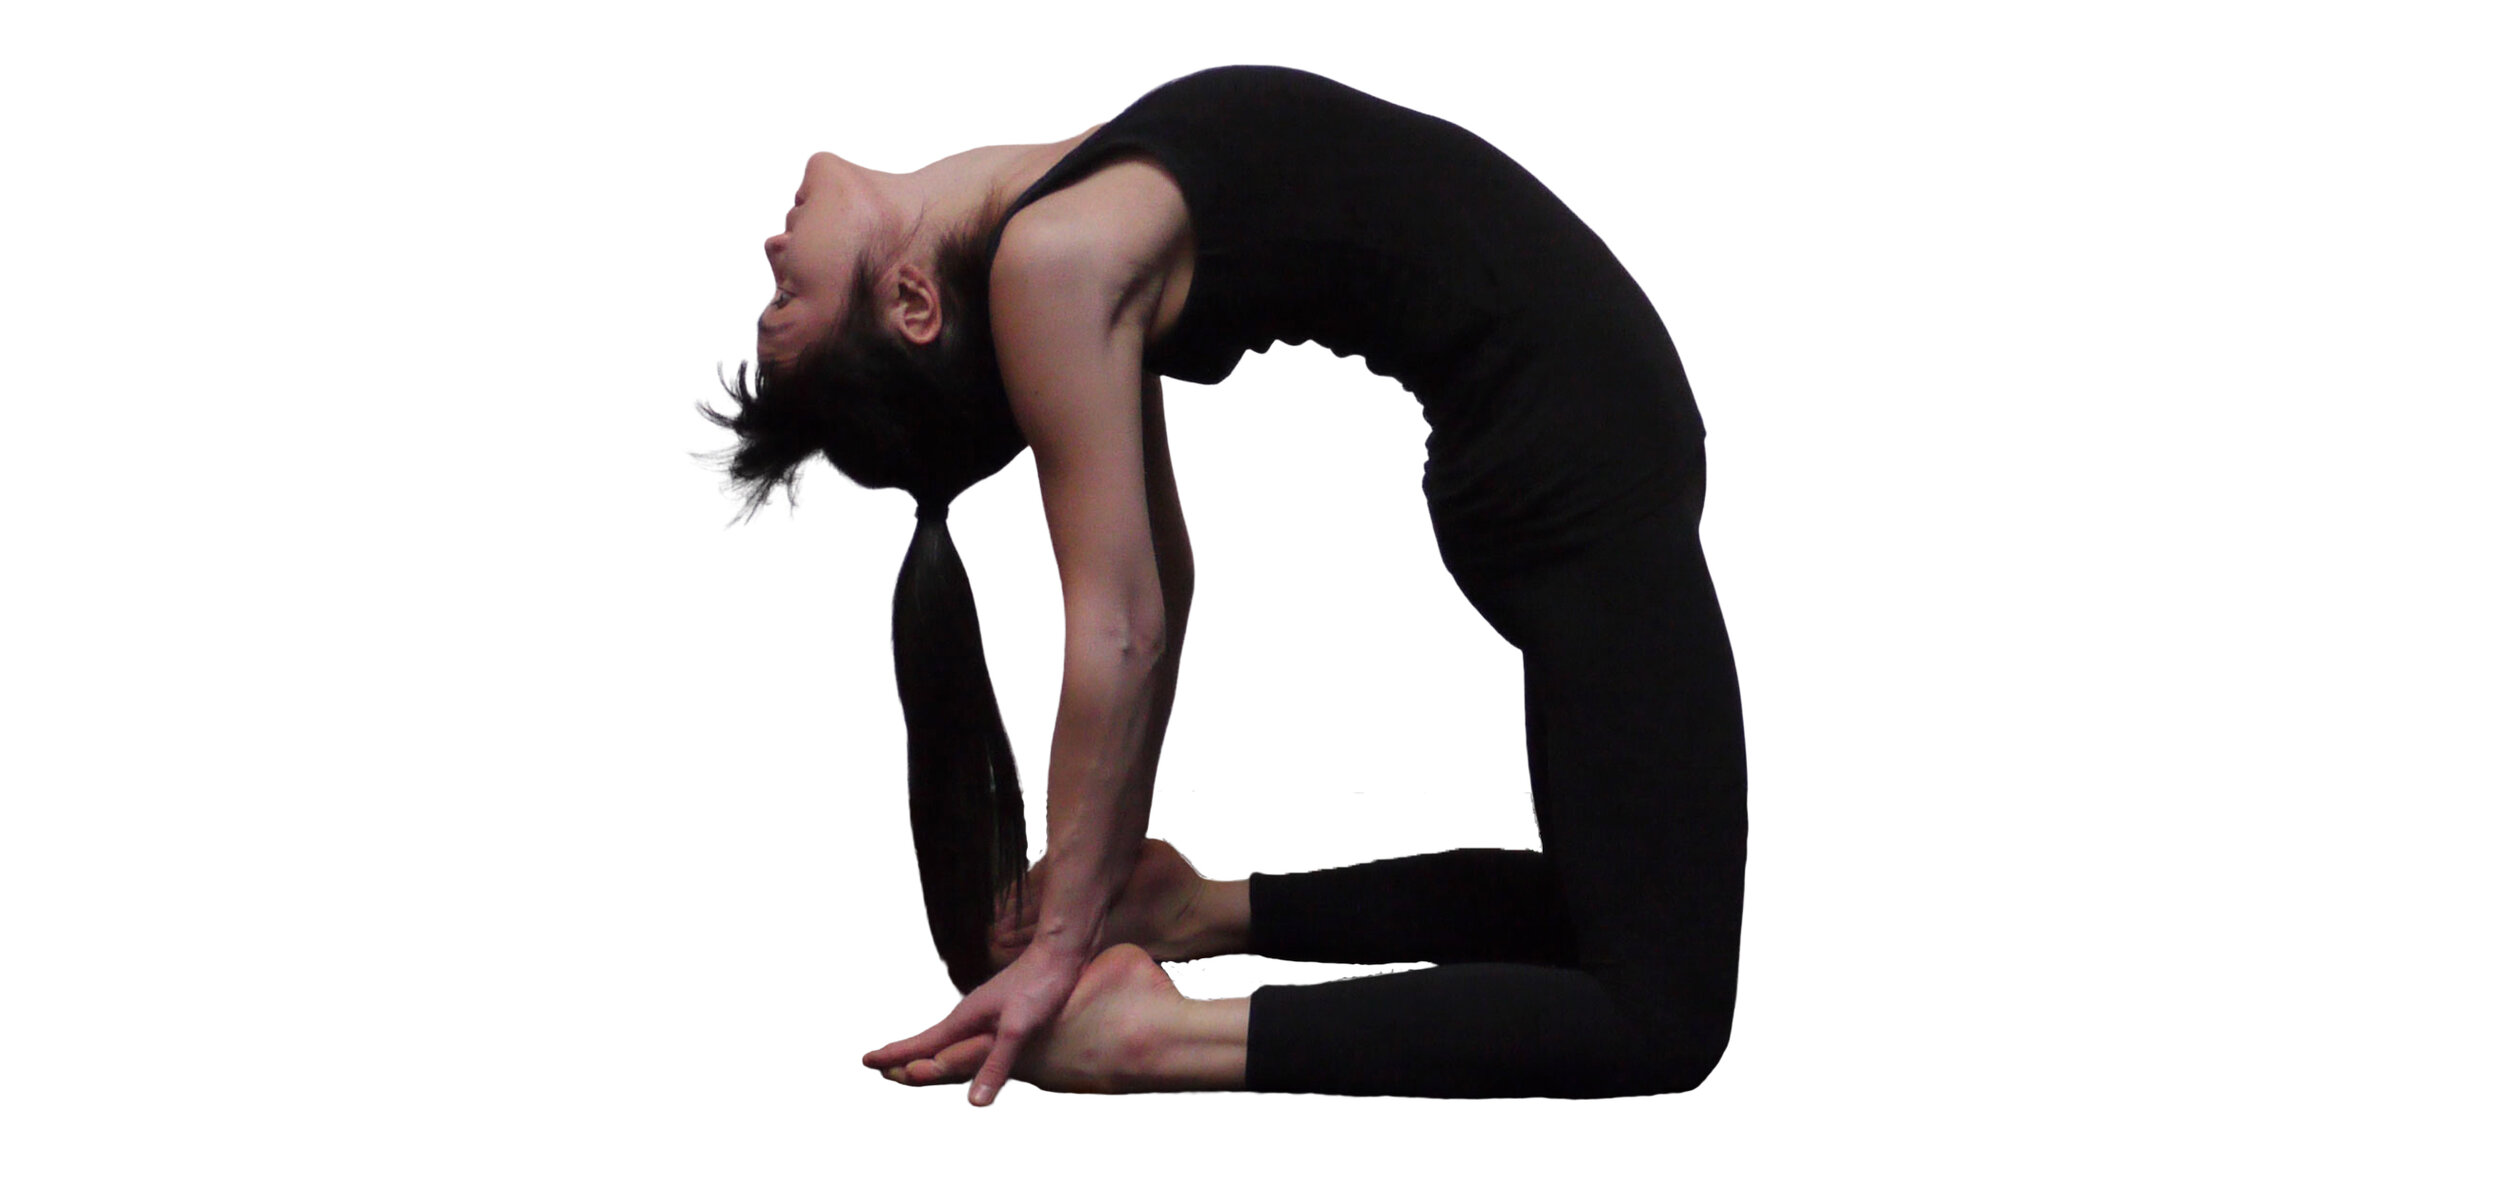
Ustrasana may seem like a simple pose, but many people struggle to feel comfortable in it.
There are many ways to practice and instruct this posture. The steps I am describing here are how I teach most people. There is no wrong or right, there is only what works for you. Sometimes, I modify the instructions for individual needs.
Make sure you have warmed up properly, include lunges and upper back strengtheners (eg. Shalabhasana) in your warm up.
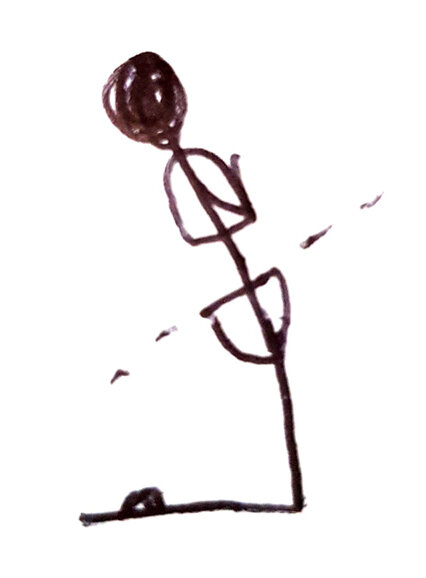
STARTING POSITION
Knees and feet hip width apart, sitting on the feet, hands at the centre chest

STEP 1: Create and stabilise the base of the pose:
Press the tops of your feet into the floor to stabilise the base. Keep this action of pressing down throughout the whole posture, entry, stay and exit.
Inhale into your chest. Exhale from your lower abdomen. Keep your lower abdominal muscles pulled back towards the spine throughout the whole posture.
Inhale and lift the pelvis forward and keep it just behind the line of your knees. When you keep the pelvis and thighs just slightly behind the line of the knees, you will feel your quads and other hip flexors working to maintain your position. If you take the pelvis forward of the knees the quadriceps will disengage and you will increase the arch and compression in your lower back.

STEP 2: Move the pelvis
Keeping your feet active and thighs working, exhale and tilt your pelvis backwards (a posterior pelvic tilt). Use your lower abdominal muscles to pull up the front of the pelvis and your gluteal muscles to pull the back of the pelvis down.
If you can’t feel the pelvis tilting backwards you might have tight hip flexors; you may need to work on them for a while longer (meaning days, weeks or months) using lunges before you can comfortably attempt this posture. If your pelvis is unable to tilt back enough, it will cause a jamming sensation in your lower back when you try the next step of arching the spine.
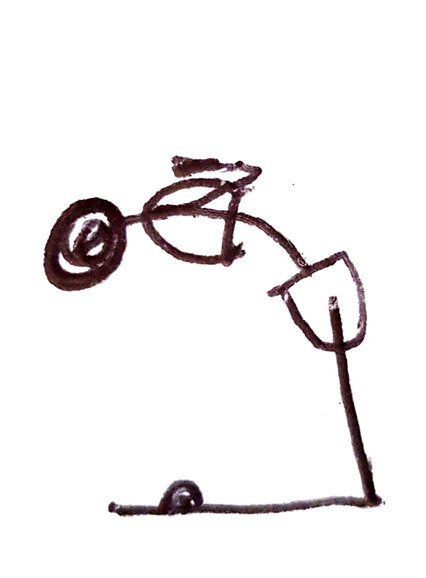
STEP 3: Arch the spine without letting go of the lower abdominal muscles
Keeping the feet active, thighs working and pelvis tilting backwards, begin to arch the upper spine, keeping your lower abdomen drawn back towards your spine.
Feel the upper back muscles contracting to create the arch.
At this point you can take your head back (optional). Only do this if your neck feels comfortable. Some people tend to have a “head forward” posture, get headaches or have tight neck muscles. If you are one of those people it’s better not to take the head back. This is still a very good variation of the pose. I sometimes practice it this way myself.
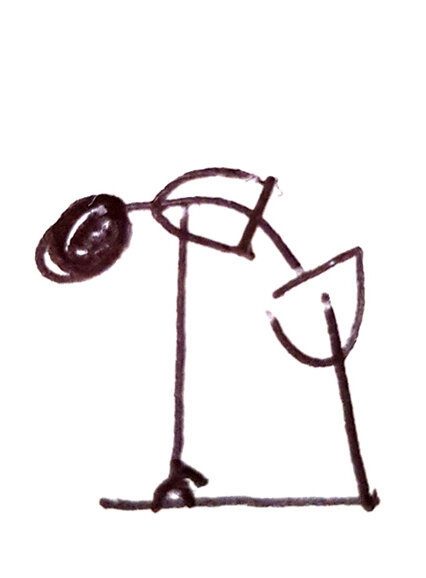
STEP 4: Take the hands to the feet
Keeping the rest of your body in the same position, lower your hands from your chest and “swipe” them towards your heels to see if you can touch them. You should be able to place your hands on your feet without leaning the thighs further back. If you can’t reach your feet yet, you need to work on the rest of the pose for longer.
Many people are not actually ready for this step. They are feeling compression in their lower back or discomfort in their knees. Often the variation of coming on to the toes and lifting the heels is given, but this actually makes the pose more difficult for a lot of people. It is increasing the stretch on the quads which not everyone is capable of. Doing this when you have tight hip flexors will prevent you from tilting the pelvis backwards. It’s better to work on the previous 3 steps for a few weeks to wait until you are comfortable.

STEP 6: Staying in the pose
Feel the parts of the body in contact with the floor actively pressing down to create stability. Keep your lower abdomen drawn back and your breath smooth. If you feel discomfort anywhere, come out of the pose. Try to work out which part is not working properly. You shouldn’t be feeling any crunching in your lower back. Instead you should be feeling your feet pressing, your thighs working, an active backward tilt of the pelvis and the upper back muscles between your shoulder blades actively arching the upper spine.
Step 7: Exiting the pose
Maintaining your lower abdomen back towards your spine; press the feet into the floor and move the front of your rib-cage down towards the front of your pelvis, closing the distance between your sternum and the front of the pelvis (ie. “un-arch” your spine). For most people, they find it more comfortable to bring the head up last. Then, sit down on your heels.

PROGRESSIONS
While it is definitely not necessary to do more advanced postures: Ustrasana is often the first kneeling backbend asana in advanced backbending sequences. If you are trying to practice advanced asanas such as Laghuvajrasana and Kapotasana, it is important to first feel stable, strong and comfortable in Ustrasana. Practising it well teaches you how to use the legs and keep the spine safe as you try these more difficult postures.
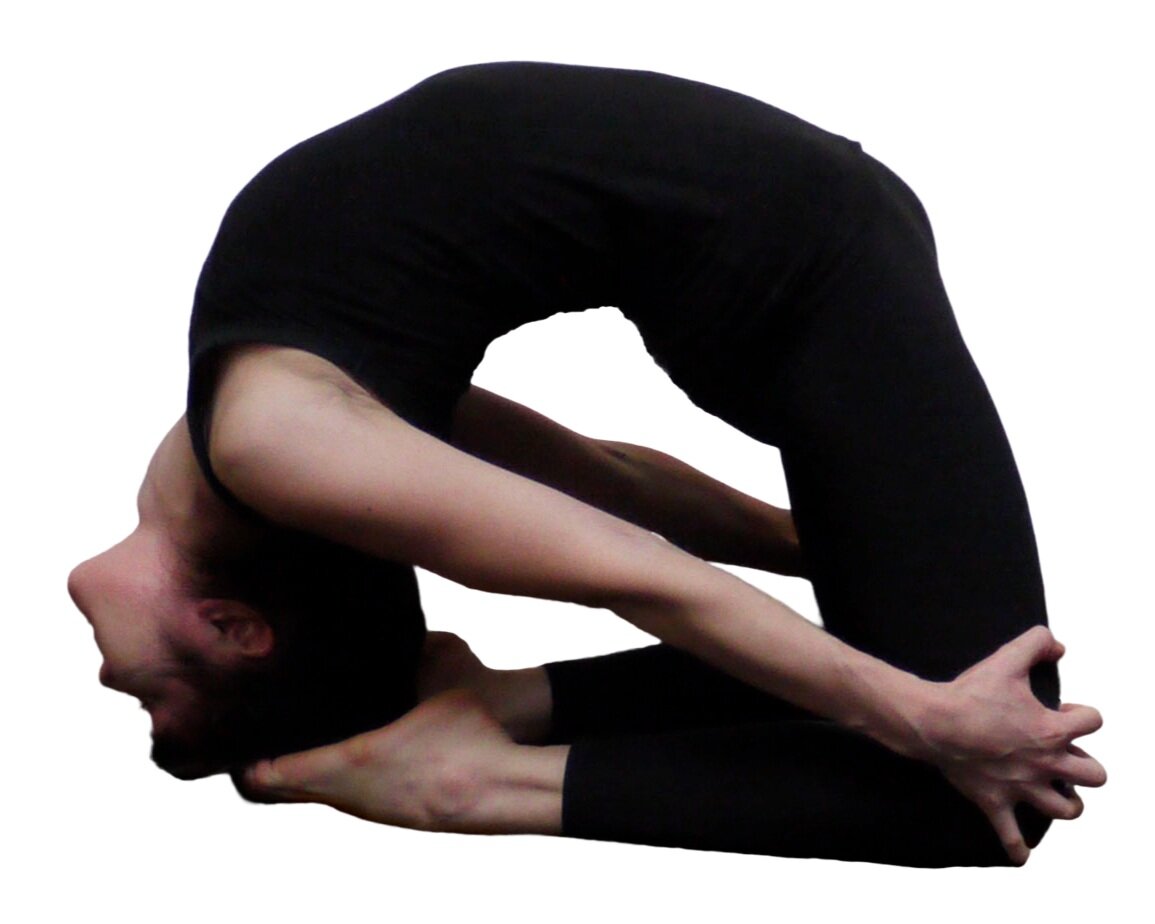
Laghuvajrasana
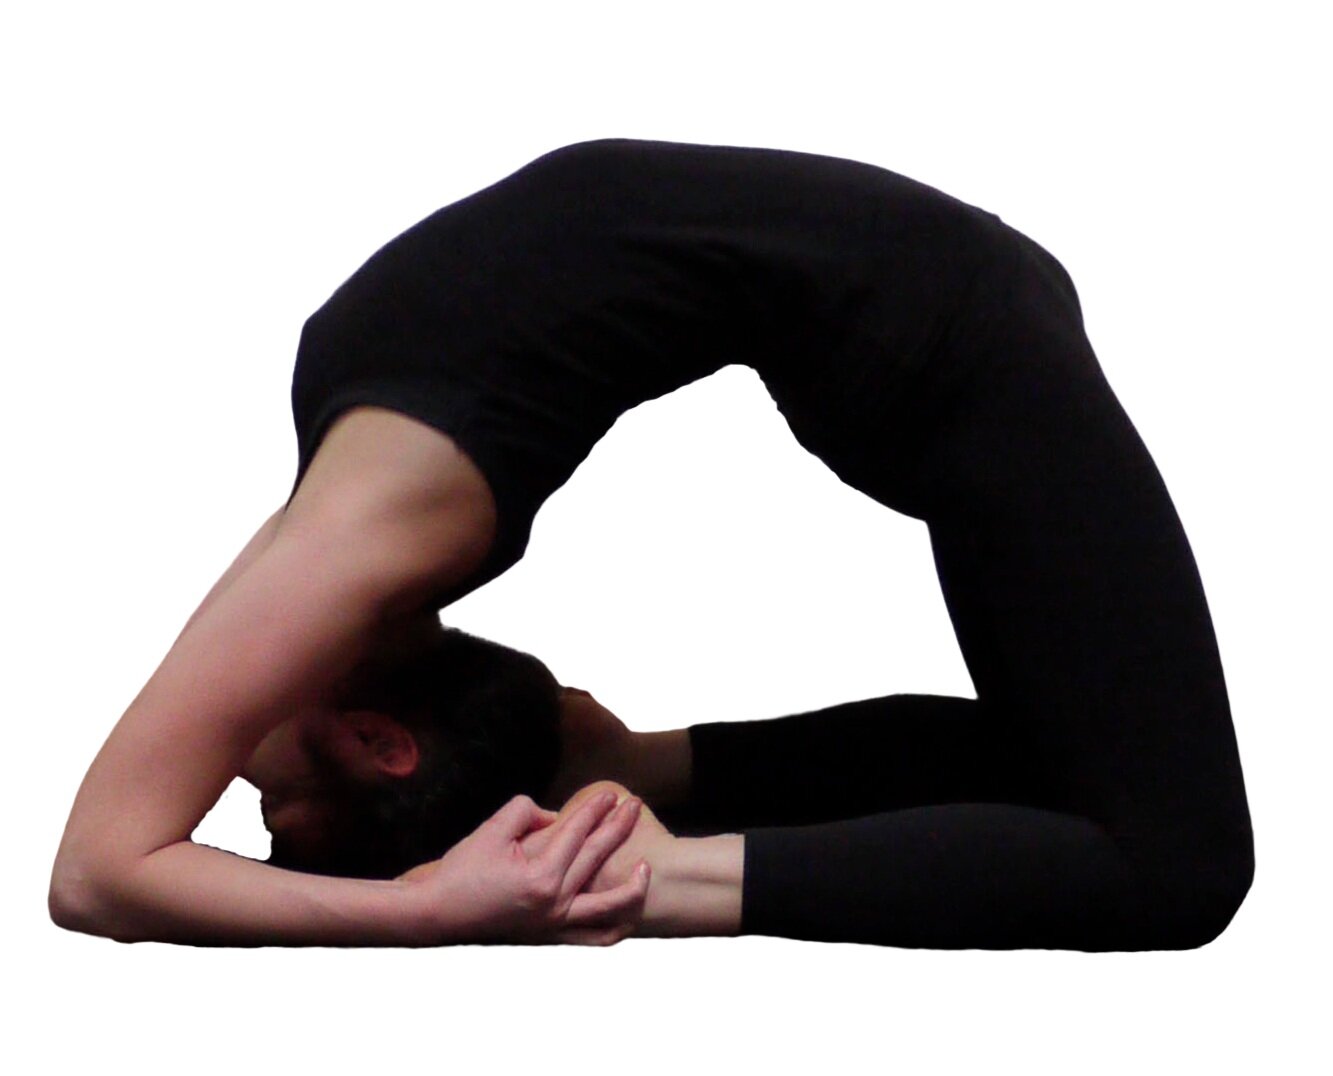
Kapotasana
FINAL NOTE
Backbends should never hurt! If they do: perhaps you are not warmed up properly, not doing it the right way for your body, not ready for the posture yet, or it’s just not right for you. Never tolerate pain in postures; you will only injure yourself. Be mindful, patient and consistent. Give your muscles time to become stronger and your mind time to fully understand each posture and how you should practice it in a way that suits you as an individual.
written by Jean Campbell
Interested in learning more about how anatomy relates to yoga practice?
Have a look at my Online Dynamic Yoga Anatomy Course.